How to fit an Aarn Mountain Magic 44 bodypack, part 1
The Aarn bodypacks are an excellent way to carry weight on the trail for a long time, with the smallest possible stress for your back. I got two of them for testing directly by Aarn, and I’m very happy about them. The main, if not only downside of these packs is that they are just a bit more complicated than normal packs to use and… much more complicated to fit when you start using them. There are so many straps and buckles!
After reading my other articles on this topic, one of my readers asked me help to understand how to “tune” and fit in the best possible way her Aarm MM44 bodypack. This series of posts explains, with as much details as possible, how I do that. It’s surely not the only way to do it, and it may even not be the best one, but it works fine here. If you need further explanation, or know better ways to perform each step, please don’t hesitate to ask in the comments, specifying the number of the picture you are referring to.
Important: this tutorial was written with, and specifically for, the Aarn Mountain Magic 44. Most of its content, however, is still valid for most of the other bodypacks from Aarn. The same applies to the general suggestions at the end of the tutorial, and to the topic of the next paragraph. My suggestion is to just read this all once, from beginning to end, then read it again with the pack besides you.
A word about female “bodypackers”
Besides requests for explanations about how to fit an Aarn bodypack the first time you put it on, I have also got several requests to provide more info on how these packs are suitable for (busty) female backpackers. For this reason, I asked a female friend of mine to “pose” in most of the shots of this series, to help readers form their own opinion. More on this at the end of the tutorial.
OK, let’s get started
Fitting a bodypack on your body is a relatively complicated process, but it takes just a few minutes (less than it takes to read these posts!) and will be definitely worth it when you’re on the trail. Ready? Let’s start!


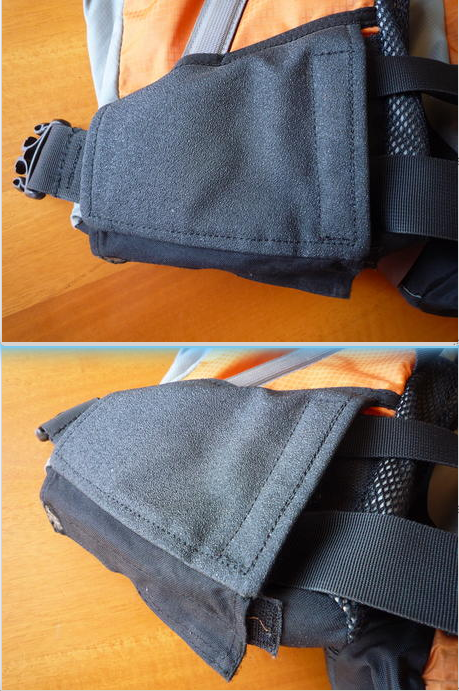
1. Before putting the backpack on, make sure that the front pockets are fastened in the right position on the belt, as shown in the picture. Also, fill the bodypack and the pockets with something (clothes, sheets, pillows, whatever) to give you the right, i.e. realistic, volume and shape.


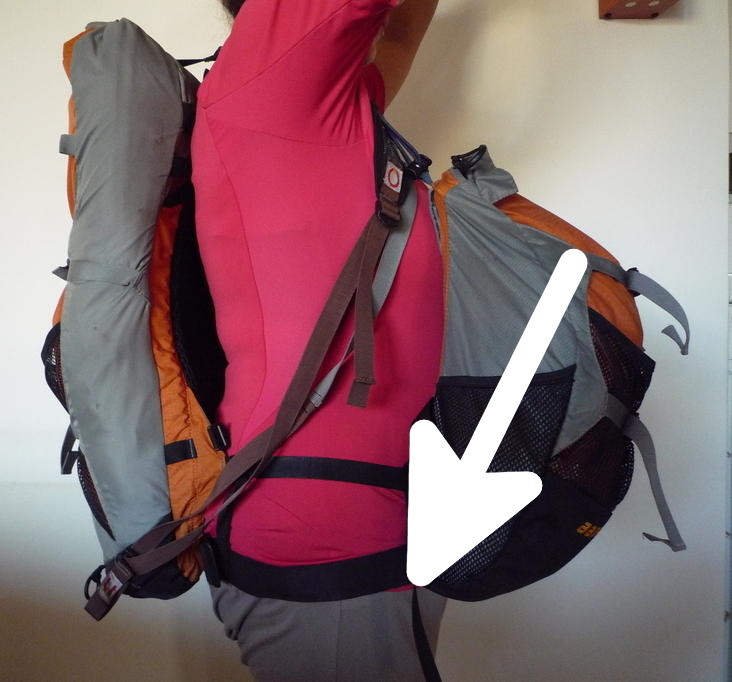
2. Let’ begin by placing the bodypack at the right height on your waist. Losen the belt and shoulder straps, put the bodypack on and fasten the belt. Very likely, it will be too low on your waist, as in this picture. How to know it’s too low? Easy (note the arrow): if you can’t raise your leg until the thigh is horizontal, the belt is too low.


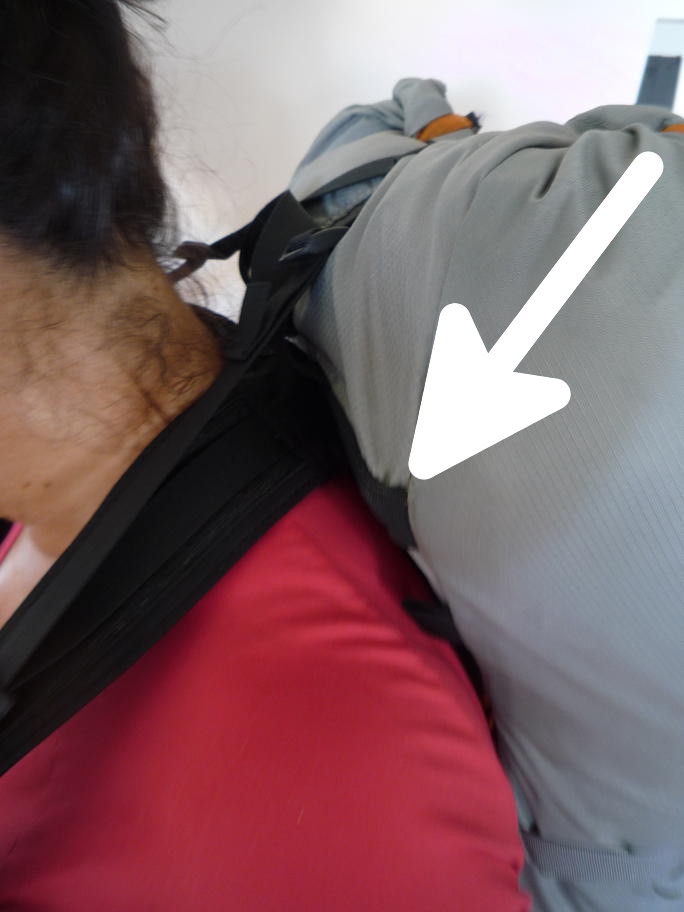
3. Another thing that often needs fixing is the attachment of the shoulder straps pad. If it’s too high on your shoulders, you’ll have to lower it. But not immediately, let’s fix the belt first.


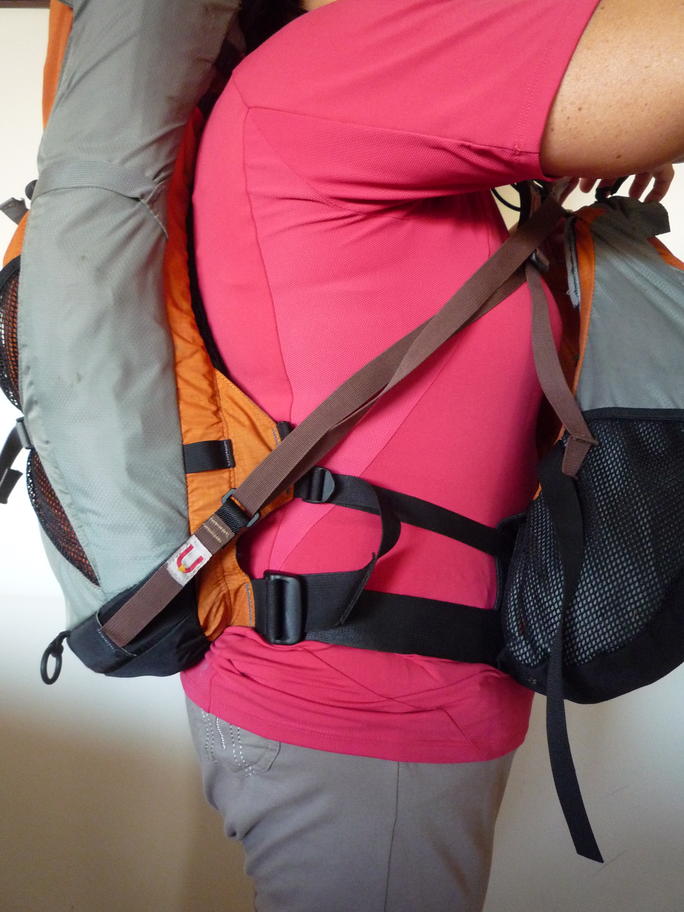
4. Pull the pack higher, or ask a friend to do it for you, until the lower strap of the belt is at the right height, then tighten it. In this way the rest of the pack will stay in place during the rest of the process.
continues here.